Spray Foam Insulation Removal
When a prior spray foam installation was mixed wrong, applied poorly, or is actively off-gassing, removal has to happen before a correct, code-appropriate application can go back in — and that removal takes real care not to damage the framing underneath.
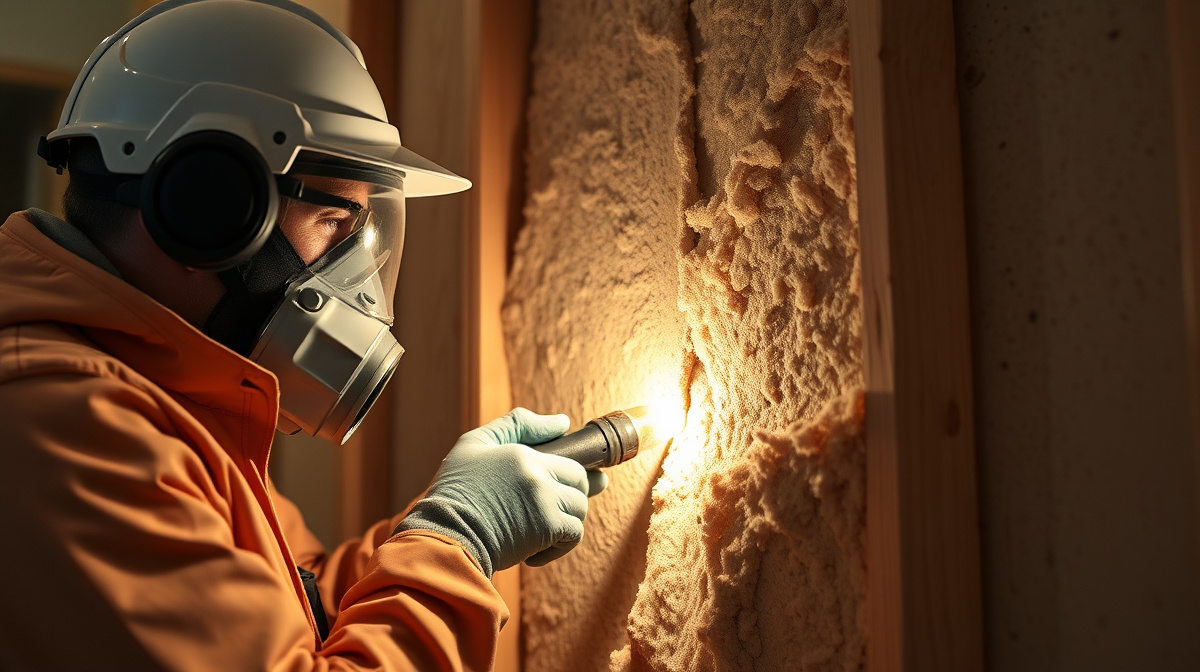
Not every spray foam job holds up, and when one doesn't, the fix isn't more foam on top of the problem — it's careful removal followed by a proper reinstallation. Improperly mixed foam (wrong ratio of the two spray foam components) can stay soft, spongy, or tacky well past its normal cure window, sometimes with a persistent chemical odor that signals the reaction never finished correctly. Poorly applied foam can also pull away from framing, leave voids, or fail to reach anywhere near its rated R-value, which shows up as ongoing drafts and high heating bills despite having insulation technically in place.
We remove failed or improperly installed spray foam carefully, cutting and extracting the material without damaging the wood framing, sheathing, or wiring underneath it — a slower, more deliberate process than fresh installation, since the goal is a clean substrate the new foam can actually bond to. Removal is also sometimes necessary during remodels or roof work, where existing foam has to come out before new work can proceed to meet current performance targets.
Why homeowners choose it
- Resolves persistent chemical odor or off-gassing from a previous installation that never cured correctly.
- Corrects R-value shortfalls from foam that was applied too thin, unevenly, or with voids and gaps.
- Prepares a clean, properly bonded substrate before a correct reinstallation goes in.
- Addresses foam that's pulling away from framing or showing visible shrinkage, discoloration, or a soft, spongy texture.
- Clears the way for roof work, remodels, or additions where existing foam is in the way of new construction.
- Gives homeowners a documented, correctly installed replacement rather than layering new material over a failed job.
Signs a Prior Spray Foam Installation Has Failed
A handful of warning signs consistently point to a bad prior installation. A chemical odor that lingers well beyond the manufacturer's normal re-entry window — which is typically just a few hours — usually means the foam's two components weren't mixed in the correct ratio and the reaction never fully completed. A soft, spongy, or tacky texture where cured foam should feel firm is another version of the same underlying mixing problem.
Visible shrinkage, foam pulling away from the framing it should be bonded to, or discoloration are signs of either a bad mix ratio or foam applied outside the manufacturer's temperature and substrate specifications. And if a home has spray foam insulation but is still drafty or running high heating bills that don't match what properly installed foam should deliver, that's often a sign the coverage is thinner or gappier than it looks from a casual glance into the attic.
- Persistent chemical odor well past the normal cure and re-entry window
- Soft, spongy, or tacky texture instead of a firm, cured surface
- Visible shrinkage or foam separating from framing
- Ongoing drafts or high bills despite insulation being in place
How Removal Is Done Without Damaging the Structure
Removal is inherently more labor-intensive than fresh installation because the goal isn't just extraction — it's extraction without gouging framing, cutting wiring, or compromising sheathing that has to stay in place and perform for decades. We work in sections, cutting and pulling cured foam away from framing members carefully, inspecting the wood underneath as we go for any moisture damage, rot, or other issues the failed foam may have masked.
Once a section is cleared down to clean framing, we assess whether the substrate is ready for reinstallation or needs repair first. Any framing damage discovered during removal gets flagged and addressed before new foam goes in — spraying new foam over compromised wood just repeats the underlying problem.
Reinstallation to Show Low's Cold-Climate Targets
Once removal is complete and the substrate is confirmed clean and sound, we reinstall to typical IECC Zone 5B targets for the specific assembly — attic, wall, or crawl space — using correctly mixed and applied open-cell or closed-cell foam matched to the location. This is the same assessment-first process we use on any project, just with a cleanup step ahead of it.
For homeowners who inherited a failed installation from a previous owner or a different contractor, this gives a documented, correctly performing insulation system going forward, rather than an unresolved question mark every time a heating bill comes in higher than expected.
Ideal for
- Homeowners dealing with a persistent chemical smell from spray foam installed by another contractor
- Properties where a previous installation feels soft, spongy, or shows visible gaps and shrinkage
- Remodels or roof replacements where existing foam needs to come out before new work proceeds
- Homebuyers who inherited a prior owner's failed insulation project and want it corrected properly
- Anyone who suspects their attic or wall insulation isn't performing anywhere near its stated R-value
What affects the cost
Foam Removal questions, answered
Warning signs include a persistent chemical odor well beyond the normal cure window, a soft or spongy texture, visible shrinkage or gaps pulling away from framing, and discoloration. If you suspect a bad prior installation, a professional inspection can confirm whether removal is needed.
Careful, professional removal is designed specifically to avoid that — we work in sections and inspect the framing as we go rather than tearing material out quickly. Any damage the failed foam was masking gets identified and addressed before new insulation goes in.
No — spraying over failed foam doesn't fix the underlying mixing or application problem, and it can trap the issue (including odor) under a new layer. Removal down to clean framing is necessary before a correct reinstallation.
Yes, generally, since removal adds labor time before any new foam goes in. The exact cost depends on the area affected and whether framing repair is needed, which we determine during an on-site assessment.
Foam Removal done right, by a local Show Low crew
Foam Removal isn't a commodity — the result depends entirely on how carefully it's planned and installed for your specific property and Show Low's real high-country climate. We assess what your house actually needs, prep and air-seal properly, and install to your elevation-appropriate R-value target, so the work delivers the comfort and savings it's supposed to.
We serve Show Low, Pinetop-Lakeside, Taylor, Snowflake, and Heber-Overgaard. Every job starts with a free, no-pressure quote.
Just as important, we treat your property like the system it is. Insulation, air sealing, and how the space is used all interact, and getting one right while ignoring the others leaves comfort and savings on the table. When we scope your foam removal, we look at how it fits the whole picture — so the finished result performs the way it should, holds up through a genuine Show Low winter, and actually lowers the bills you feel every month.
Free assessment
We evaluate your home and give you a clear, itemized quote.
Expert install
We prep, air seal, and install your foam removal to spec — clean and on schedule.
Savings you can feel
A warmer home, lower heating bills, and honest advice about what your home needs.
Related services
Ready for a free foam removal quote?
Tell us about your home and we'll put together a clear, no-pressure spray foam insulation quote — built for Show Low's real White Mountains winters.